
Installing fasteners correctly is a fundamental skill in construction, manufacturing, and DIY projects that ensures structural integrity and long-lasting connections. Whether you're working with hex bolts, screws, rivets, or specialty fastener hardware, understanding proper installation techniques can prevent costly failures and safety hazards. This comprehensive guide walks you through the essential steps, tools, and best practices for installing various types of fasteners across different materials and applications.
Understanding Fastener Types and Applications
Mechanical Fasteners Overview
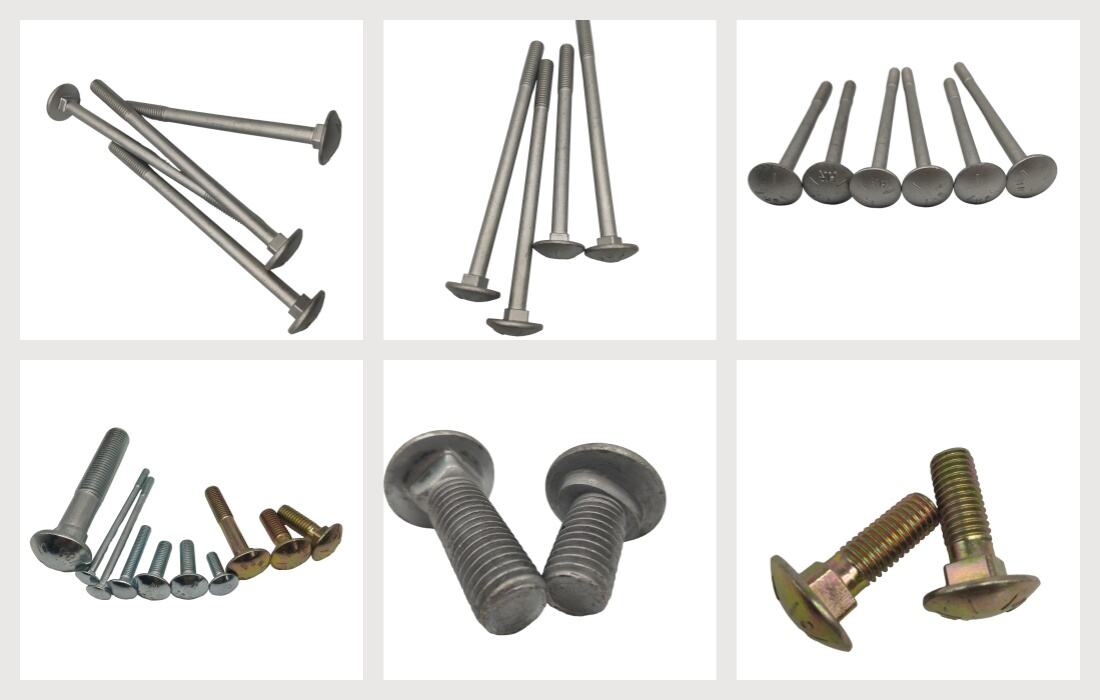
Mechanical fasteners encompass a wide range of hardware components designed to join or secure two or more objects together. The most common types include bolts, screws, nuts, washers, rivets, and clips, each serving specific purposes based on load requirements, material compatibility, and environmental conditions. Understanding which fastener to select for your application is crucial for achieving optimal performance and durability.
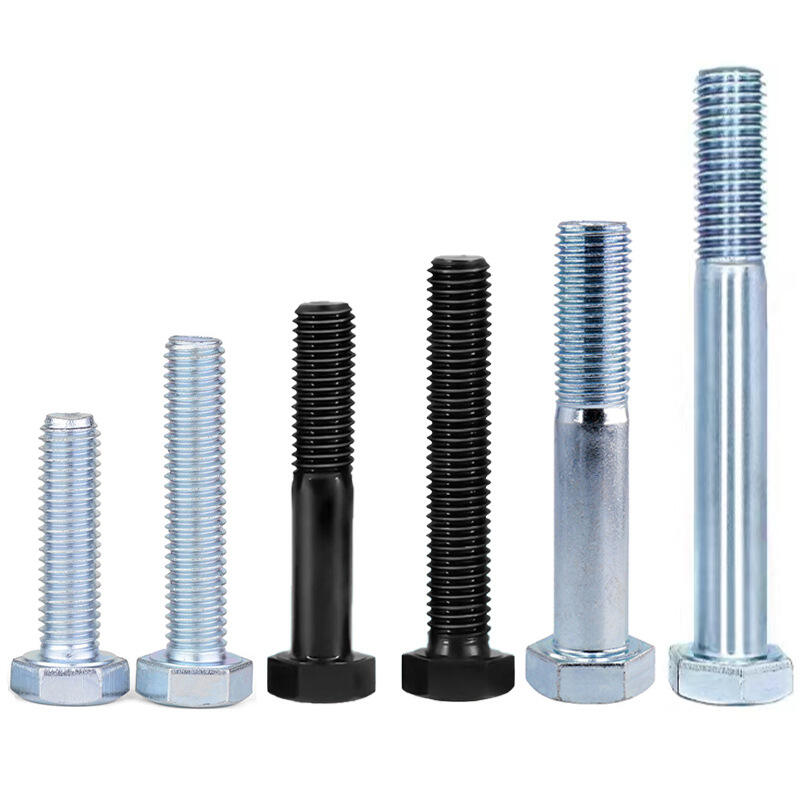
Threaded fasteners like bolts and screws create strong, removable connections through mechanical advantage, while permanent fasteners such as rivets provide excellent vibration resistance in high-stress applications. The choice between these options depends on factors including accessibility for maintenance, load distribution requirements, and whether the connection needs to be reversible.
Material Considerations for Fastener Selection
The material composition of your fastener directly impacts its performance characteristics, corrosion resistance, and compatibility with joined materials. Stainless steel fasteners excel in corrosive environments but may be prone to galling when installed improperly. Carbon steel fasteners offer high strength at lower costs but require protective coatings in outdoor applications.
Specialized materials like titanium, aluminum, and various alloys serve specific applications where weight reduction, electromagnetic compatibility, or extreme temperature resistance is required. Always consider galvanic corrosion potential when mixing dissimilar metals, as this can lead to premature failure of the fastener or surrounding components.
Essential Tools and Equipment
Basic Hand Tools for Fastener Installation
Proper fastener installation begins with having the right tools for the job. Essential hand tools include a comprehensive set of wrenches, screwdrivers, and pliers sized appropriately for your specific fastener hardware. Socket sets with both metric and imperial measurements ensure compatibility with various fastener head styles and sizes.
Torque wrenches are indispensable for achieving specified preload values, preventing both under-tightening that leads to loose connections and over-tightening that can strip threads or fracture components. Digital torque wrenches offer improved accuracy and data logging capabilities for critical applications requiring documentation.
Power Tools and Specialized Equipment
Impact drivers and pneumatic tools significantly reduce installation time while providing consistent torque application across multiple fasteners. However, these tools require careful calibration and technique to avoid damaging threads or exceeding material stress limits. Always use appropriate sockets and bits designed for power tool applications.
Specialized equipment such as rivet guns, thread-cutting tools, and fastener insertion machinery becomes necessary for high-volume installations or specific fastener types. Investing in quality equipment pays dividends through improved productivity, reduced rework, and enhanced connection reliability.
Pre-Installation Preparation
Surface Preparation and Alignment
Thorough surface preparation ensures optimal fastener performance and prevents premature failure. Clean all mating surfaces of oil, paint, rust, and debris that could interfere with proper seating or create stress concentrations. Use appropriate cleaning solvents and abrasives while avoiding damage to protective coatings.
Proper alignment of holes and components before fastener insertion prevents cross-threading, binding, and uneven load distribution. Use alignment pins, jigs, or temporary fasteners to maintain positioning during installation, especially when working with multiple fastener patterns or heavy components.
Hole Preparation and Threading
Accurate hole sizing is critical for achieving optimal fastener performance. Undersized holes create excessive installation torque and potential material damage, while oversized holes reduce clamp load and connection strength. Follow manufacturer specifications for hole diameters, considering tolerance requirements and material expansion factors.
Thread preparation includes deburring hole edges, applying appropriate lubricants, and verifying thread pitch compatibility. For tapped holes, ensure threads are clean and properly formed throughout the engagement length. Damaged threads should be repaired using thread inserts or helicoils before fastener installation.
Step-by-Step Installation Process
Initial Fastener Positioning
Begin installation by carefully positioning the fastener in its designated location, ensuring proper thread engagement without forcing or cross-threading. Start threading by hand whenever possible to verify smooth engagement and prevent damage from power tools. This initial step prevents costly mistakes and component damage.
For bolted connections, insert the bolt from the appropriate side based on accessibility and load direction requirements. Ensure washers are properly positioned and oriented according to their design function, whether for load distribution, sealing, or vibration resistance.
Tightening Sequence and Torque Application
Follow proper tightening sequences for multi-fastener patterns to ensure even load distribution and prevent component distortion. Star or cross patterns work well for circular arrangements, while progressive tightening from center outward suits linear patterns. Multiple tightening passes with gradually increasing torque values achieve more uniform preload.
Apply specified torque values using calibrated torque tools, following manufacturer guidelines for lubrication conditions and tightening speed. Consider factors such as thread pitch, fastener material, and environmental conditions that may affect the torque-tension relationship. Document torque values for critical applications requiring inspection records.
Quality Control and Inspection
Post-Installation Verification
Systematic inspection after fastener installation ensures connection integrity and identifies potential issues before they become failures. Visual inspection should check for proper seating, uniform gap patterns, and absence of material damage around fastener locations. Look for signs of over-tightening such as material deformation or fastener head damage.
Functional testing may include load testing, vibration testing, or operational cycling depending on the application requirements. These tests verify that the fastener installation meets performance specifications and design requirements under actual operating conditions.
Documentation and Record Keeping
Maintain detailed records of fastener installations for critical applications, including torque values, installation dates, and inspector identification. This documentation supports quality assurance programs, warranty claims, and maintenance scheduling. Digital record-keeping systems improve accessibility and data analysis capabilities.
Photographic documentation can supplement written records, particularly for complex assemblies or when installation access will be limited after completion. These records prove invaluable for troubleshooting, maintenance planning, and future modifications.
Common Installation Mistakes
Threading and Alignment Errors
Cross-threading represents one of the most common and damaging installation mistakes, often resulting from rushing the initial engagement process or misaligned components. This error strips threads, weakens connections, and may require costly repairs or component replacement. Always start threading by hand and verify smooth engagement before applying power tools.
Misalignment issues create uneven stress distributions that can lead to premature fastener failure or component damage. Take time to properly align components and verify hole positioning before beginning installation. Use appropriate fixtures and alignment aids to maintain positioning throughout the process.
Torque and Lubrication Issues
Improper torque application, whether excessive or insufficient, compromises connection performance and reliability. Over-tightening can strip threads, fracture fasteners, or damage components, while under-tightening results in loose connections prone to vibration-induced failure. Always follow manufacturer torque specifications and use calibrated tools.
Incorrect lubrication practices affect the torque-tension relationship and can lead to galling, corrosion, or contamination issues. Use specified lubricants in appropriate quantities, avoiding over-application that attracts contaminants or under-application that promotes wear and galling.
Maintenance and Service Considerations
Inspection Schedules and Procedures
Regular inspection schedules help identify loosening, corrosion, or wear before they lead to fastener failure. Inspection frequency depends on application severity, environmental conditions, and safety criticality. High-vibration environments or safety-critical applications require more frequent monitoring.
Develop standardized inspection procedures that include visual checks, torque verification, and dimensional measurements where appropriate. Train inspection personnel on proper techniques and documentation requirements to ensure consistent, reliable assessments.
Replacement and Upgrade Strategies
Plan for fastener replacement as part of routine maintenance programs, considering factors such as service life, availability, and technological improvements. Keep adequate spare fastener inventory, including different sizes and materials to accommodate various applications and emergency repairs.
Consider upgrading to improved fastener technologies when replacement becomes necessary, taking advantage of advances in materials, coatings, or design that offer enhanced performance or reduced maintenance requirements. Evaluate the cost-benefit relationship of upgrades against continued use of existing fastener types.
FAQ
What torque specifications should I use for different fastener sizes
Torque specifications vary significantly based on fastener size, material, thread pitch, and application requirements. Always consult manufacturer specifications or engineering standards such as those published by ASTM, SAE, or ISO. As a general guideline, torque values typically range from 2-5 ft-lbs for small screws to several hundred ft-lbs for large structural bolts. Factors such as lubrication, surface finish, and environmental conditions can affect these values by 20-50%.
How do I prevent galling when installing stainless steel fasteners
Galling prevention requires careful attention to installation technique and lubrication. Use appropriate anti-seize compounds specifically designed for stainless steel applications, avoiding petroleum-based lubricants that may cause corrosion. Install fasteners slowly to prevent heat build-up, and ensure proper thread engagement without forcing. Consider using different materials for nuts and bolts, such as brass nuts with stainless bolts, to reduce galling tendency.
What should I do if a fastener breaks during installation
When a fastener breaks during installation, stop immediately to assess the situation and prevent further damage. For fasteners broken above the surface, use locking pliers or screw extractors designed for the specific fastener type. For fasteners broken flush or below the surface, drilling and extraction tools may be necessary. In critical applications, consider consulting with engineering professionals to ensure proper repair procedures and replacement fastener specifications.
How often should I replace fasteners in high-vibration environments
Replacement frequency in high-vibration environments depends on fastener type, preload levels, and vibration characteristics. Generally, inspect threaded fasteners every 500-1000 operating hours or as specified by equipment manufacturers. Look for signs of loosening, thread wear, or fatigue cracking. Consider using specialized vibration-resistant fasteners such as those with thread-locking compounds, prevailing torque nuts, or mechanical locking features to extend service life and reduce maintenance requirements.